DNSPod
旗下子品牌
DNS
Cancel
Contents
MX Record
Overview
This document describes how to add an MX record. If you want to set up your mailbox so that it can receive emails, you need to add an MX record.
Directions
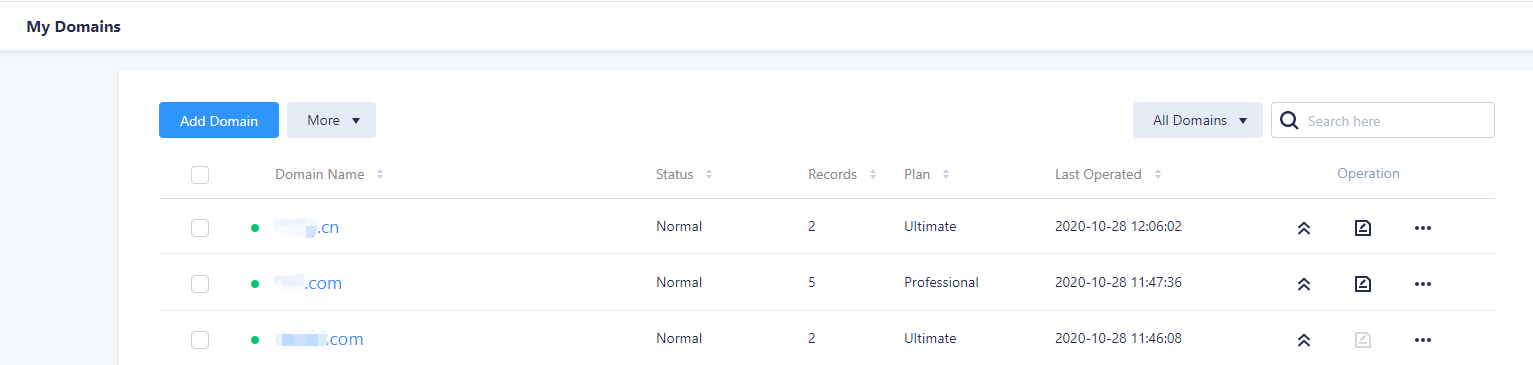
- Log in to the DNSPod Console.
- In "My Domains", click the domain for which to add an MX record to enter its Record Management page as shown below:
- Click Add Records and enter the following record information as shown below:

- Host: enter a subdomain, which is usually "@" or "mail". For example, if "Host" is "@", then the email address will be
xxx@dnspod.com; if "Host" is "mail", then the email address will bexxx@mail.dnspod.com. - Type: select "MX".
- Split Zone: select "Default"; otherwise, certain users may not be able to receive emails. MX generally doesn't require intelligent DNS, so the default value is sufficient.
- Value: it can be either a domain or an IP address.
- If the value is a domain, the domain should have an A record, and after the record is generated, a "." will be automatically added after it.
For example, to set an MX record with the valuemail.dnspod.com, you need to add an A record with the host "mail". - If the value is an IP address, directly enter the mail server IP, and after the record is generated, a "." will also be automatically added after it.
- If the value is a domain, the domain should have an A record, and after the record is generated, a "." will be automatically added after it.
- Weight: leave it empty.
- MX: the lower the value, the higher the priority.
- For example, an email will first be sent to
mxbiz1.dnspod.comwith MX priority of 5.

- If the attempt fails, the email will then be sent to
mxbiz2.dnspod.comwith MX priority of 10.

- For example, an email will first be sent to
- TTL: it is the cache time and 600s by default. The smaller the value, the faster the change to the record will take effect in various regions.
- Click Confirm.
Last updated on 2025-04-10 12:10
Is the above content helpful to you?
Helpful
Unhelpful
Select an issue type
- Can't find what I need
- Update is not timely
- Difficult to understand
- Typo/invalid link
- Steps are incomplete
- Missing images/sample codes
View on Mobile Phone
Click to copy the link

DNS health check tool powered by DNSPod
查询域名信息,快速排查网站问题

Official WeChat group
Join WeChat group to chat and feedback

Scan using WeChat